Followers

Follow this blog with bloglovin

Follow on Bloglovin

Thursday 26 March 2015

A Thank you card

Hey all

Another post for the day.

It is actually that time of the year when i get busy with orders for Thank you cards. YES. It is the academic year end.

This was a card made for a teacher of a cute little boy.

Another card in which i tried my favorite Heat Embossing technique...

Inspired by the Pinspired photo of Create something catchy challenge...
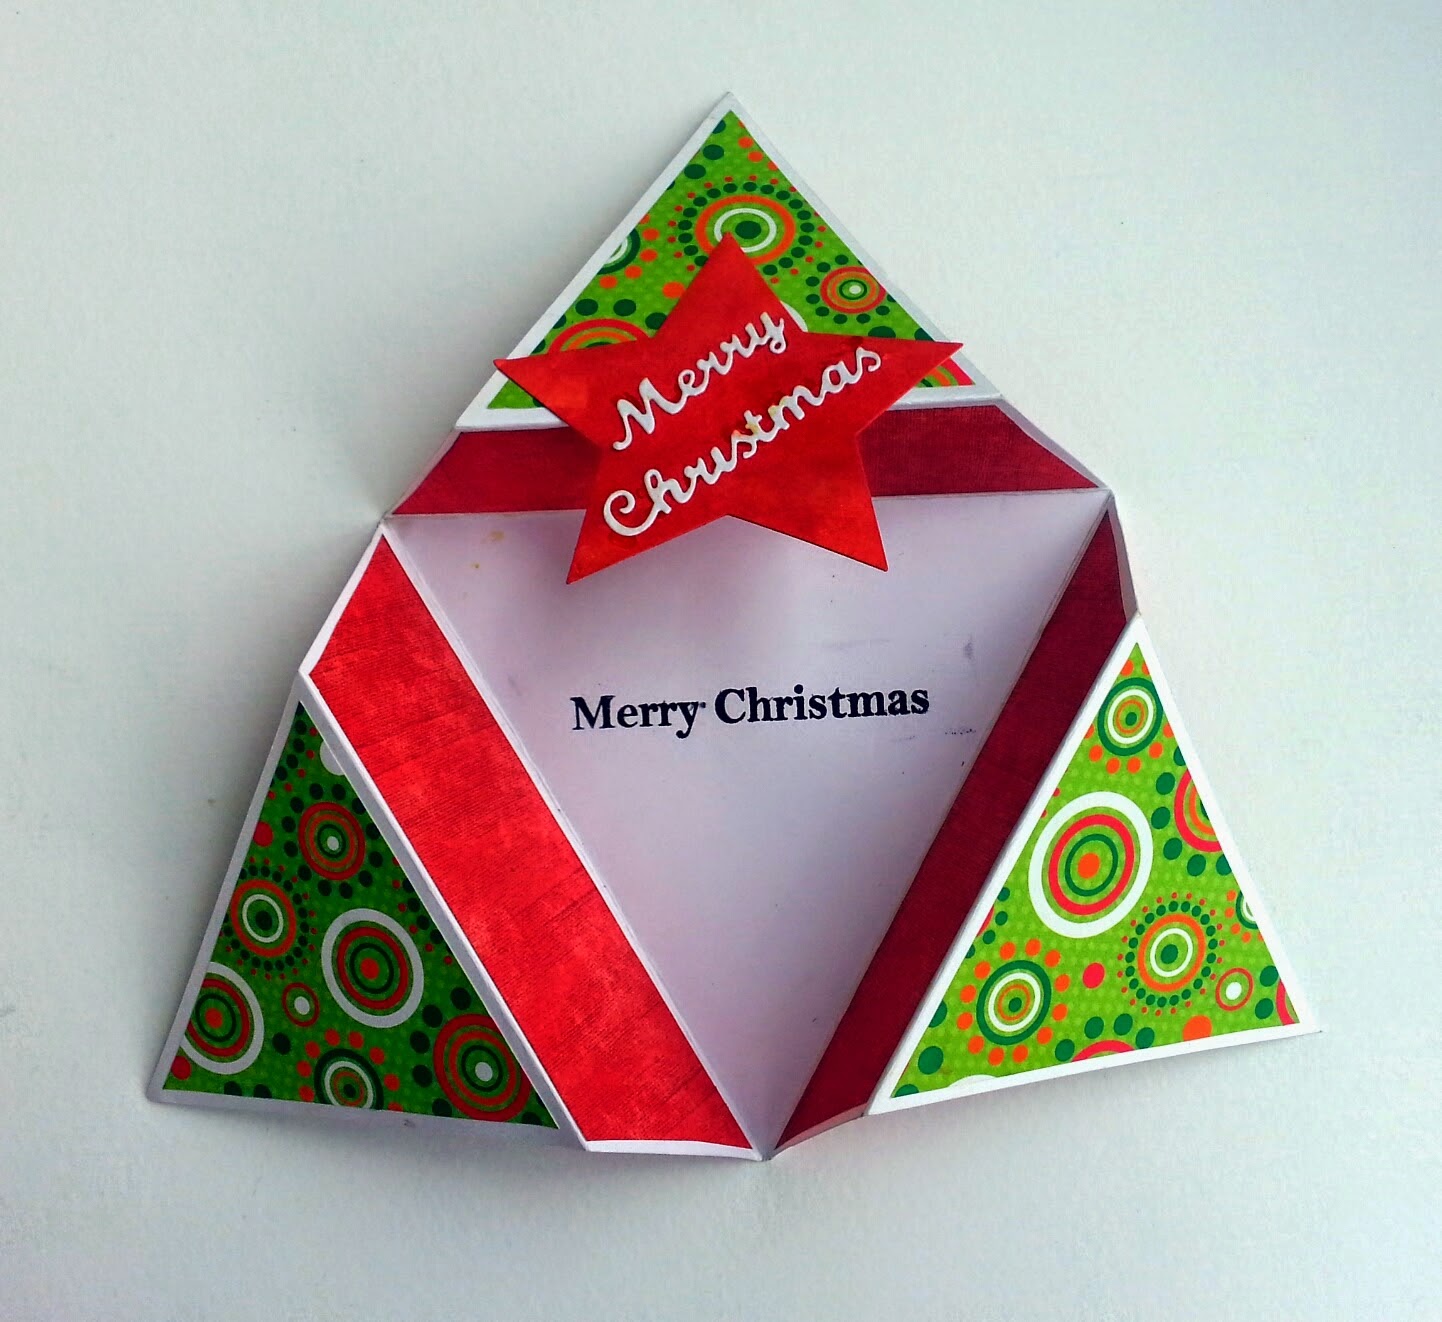


And here is my card 


Heat embossed flowers on the background.. The flowers were heat embossed with white embossing powder and then Distressed(Emboss resist technique)

It is actually beautiful in the real than in the pic. Couldn't capture the emboss effect from my camera

Hope you all like it... 

Entering this card into the following challenges:
1. Catchy challenges - Lets get pinspired 
2. Whoopsidaisy challenge - Add a sentiment
3. creataliciouschallenges- Anything goes  
4. simonsaysstampblog -Anything goes 


Wednesday 25 March 2015

A Birthday card with my favourite technique - Heat Embossing

Hey All

Hope you are all doing great... I keep deciding on resolutions of keeping my blog updated and then with my two cute babies around, I fail completing that. Today ,am deciding again and hope to keep up with that.

And now I wanted to share a Birthday card I made recently inspired by the mood board of LULUPU's 3rd Birthday celebration Bash..

I love all techniques of scrapbooking but my fav among them are using Distress inks and Heat Embossing. And i have tried both on this card....

Stopping my story here n showing you the card and the moodboard of LULUPU.


Impressed by so many elements in the mood board, tried incorporating them in the card . 

The Gold Embossed sentiment over Pink  - Pink Background with Golden Embossing 
The Photo frame - The Diecut shape beneath the main sentiment 
Colors of the French Macaroons - Colors of the diecut in the centre 
Tassel Banner - Used ribbons as tassel beneath the flowers (Not so prominent in the photo)

The techniques I have used are Heat Embossing, Distressed the frames with Distress inks and handmade diecut flowers.

Hope you all like it... 

Entering this card into the following challenges:

1. Lulupu - 3rd Birthday (Mood board)
2. cardsgalorechallenges - Anything goes
3. hidinginmycraftroom- Embossing 
4. carabbiemomentsofcraft - Anything goes (For Mom /Special lady)
5. scrappyhands - Bingo (Flower,Ribbon and stamps / Embossing,Ribbon and Notes)


Tuesday 3 March 2015

Birthday Banner for my lil one !!!

Hey All

Here is a Birthday Banner I made for my lil one's Birthday party...

I used a digi paper as Base, Diecut two circles, and over that  placed the Diecut Alphabets.

Finally, i added a Brown ruffled ribbon on top as an outline..


Hope you all like it.

Entering this banner into the following challenges:

1. notjustcardschallenges - Challenge #14  (15 Mar)
2. 2creativechicks - Anything goes  (31 Mar)
3. die-cut-divas - Spring / Children's challenge (31 Mar)


Hugs
Catherine 


Monday 2 March 2015

Firts trial with a Tri shutter card

If you know me already, you must be knowing that I am more of a CAS, simple, one layer card person. Thanks to the team for such a challenge that it gave me a chance to try all new things. Last time, I tried Mixed media on a clock and it was actually a hit according to me.

With that courage, I tried a fancy fold this time -a tri shutter card and the challenge personally here was I wanted it Masculine...


This is the view of the closed card


When the ribbons are opened


The First open

I used a lot of quotes, colored La la land Birthday Marci with Distress inks, attached a ribbon to hold them all together from the back and am done.


Full open view 


Supplies used:

Kaisecraft Texture stamps
Marianne Anja's Large Oval
Fleur De Lis Square

Hugs
Catherine 

A Late Post... My star Card with a simple tutorial

A Star Christmas Card 


I have a simple tutorial on how I did that... 

I used a 30cm by 30cm square cardstock. Find the centre (15cm) on opposite sides of the square and make a mark . 

From the bottom right hand corner, measure 30cms to the centre line at the top. Repeat this with the bottom left hand corner.
You now have a triangle that is 30cms on all sides. Cut the triangle. 
Hope the picture explains it better. 


Now, find the centre point on all three sides of the triangle and join these points. 

For the next set of score lines, make a mark at the point that is 1/6th of the length of the side of the main triangle. HEre 1/6th is 5cm.. so I marked at a point that is 5cm on all the sides from the edge.. that is from the pointed sides of the triangle. Now join them. 


Score and fold along all the lines.. The inner triangle lines are valley fold and the outer ones are mountain fold. 

Fold and close the card overlapping each point of the star to make it a star. 

And it is ready to embellish it pattern papers and we are done. 


Hope u all like it..

Hugs
Catherine